Renesas RX support & J-Link compatibility
J-Link fully supports super-fast, direct debugging via JTAG on Renesas RX devices.
Overview
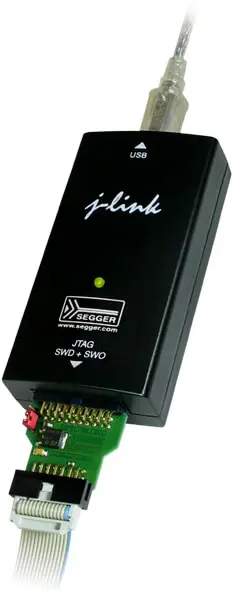
All that is needed to use J-Link with a Renesas RX MCU, is an RX Adapter which is available for J-Link, J-Link Pro, J-Link Ultra+, J-Link EDU and any other licensed J-Link compatible debug probe. The required software can be downloaded from SEGGER's website and used free of charge.
Compatible MCUs
J-Link supports various groups of the RX series devices. For a detailed list of supported devices, please refer to the supported devices list. J-Link supports the JTAG interface as well as the FINE interface for debugging RX based devices.
Supported IDEs
J-Link is compatible1 with the Renesas E1 emulator, all features supported by the IDE + E1 can also be used with J-Link. Boot mode and programming of the user boot area are currently not supported by J-Link. J-Link has been tested with the following IDEs:
- IAR EWRX
- Renesas e²Studio
Key features
- Supports direct download into flash memory
- Supports software breakpoints in flash memory (Unlimited Flash Breakpoints) [More..]
- Seamless integration into the IAR Embedded Workbench & Renesas e²Studio IDE
- On-chip trace support
- Virtual UART support (C2E / E2C support)
- All kinds of events are supported (Execution break, data access, trace break, combination/sequentation of events)
J-Link vs Renesas E1
Advantages of J-Link
- Higher speedFirst of all, J-Link is much faster. We achieve (at the time of writing, using the current versions of both the J-Link and E1 software) a speed of approximately 2-6 times the speed of the E1. This is true for basically all operations, incl. download to flash, setting of breakpoints in flash as well as startup and typical debugging operations like single stepping or memory read operations.
- Smart breakpoint management
Flash breakpoints are much faster on J-Link than on E1 or E20, but because of the large flash sectors of up to 128KB, setting or removing flash breakpoints is still time consuming. J-Link uses different techniques to minimize the amount of times a flash breakpoint is set or removed. Some of these techniques are: Instruction set simulation, use of hardware breakpoints where possible, dynamic conversion of breakpoint types, flash caching, CRC checking and others - SDK available
You can write your own application and control an RX600 series MCU using J-Link - Same probe for ARM and RX600 CPUs: No need to switch debug probes!
- Control panel allows monitoring of operation64-bit OS supported
- J-Link commander: Free Command line utility for J-Link
- J-Flash: Allows using J-Link for production purposes
Production Programming
The built-in Flash loader can be used to program the flash of supported RX devices directly from within the debugger or via J-Link Commander. This allows using J-Link for flash programming of smaller production batches. To program the flash via J-Link Commander, a sequence of commands such as the following can be used:
The command can be stored in a Commander script file, which can be executed as follows: JLink.exe.

